Bulk Pricing
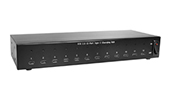
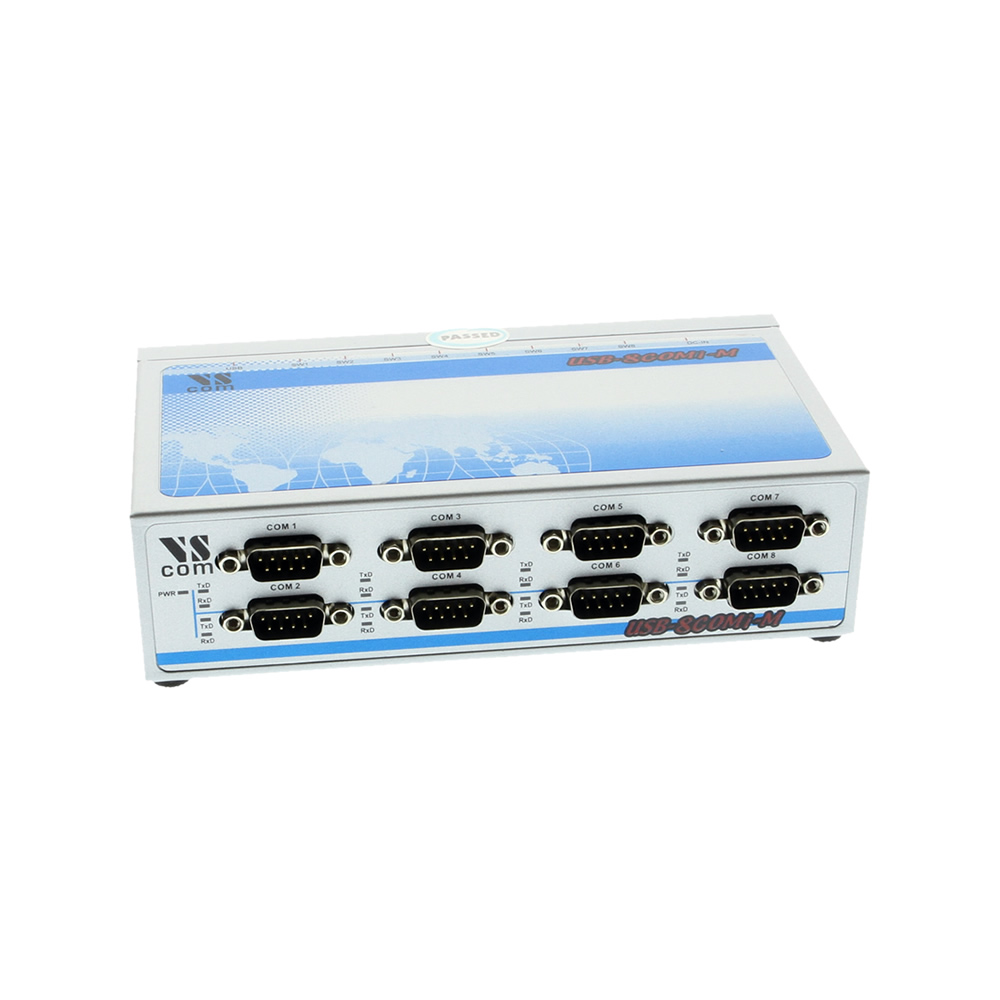
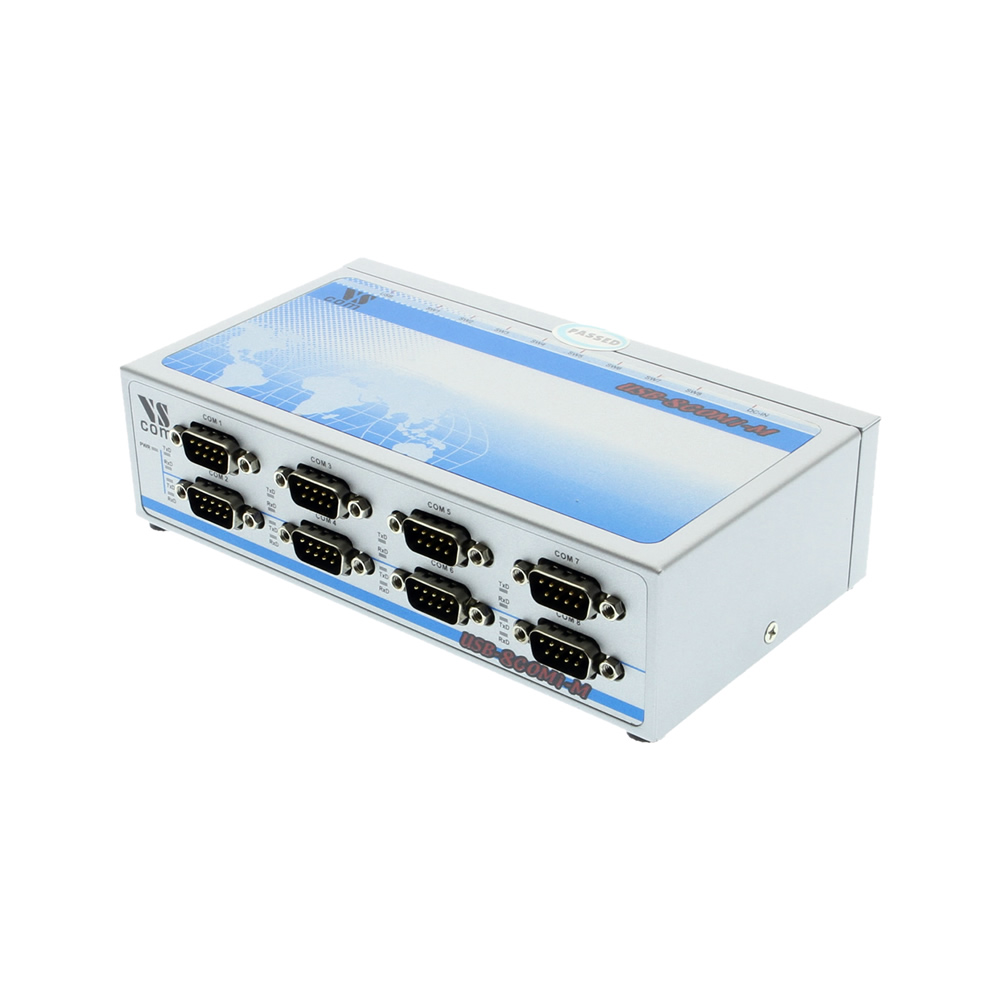
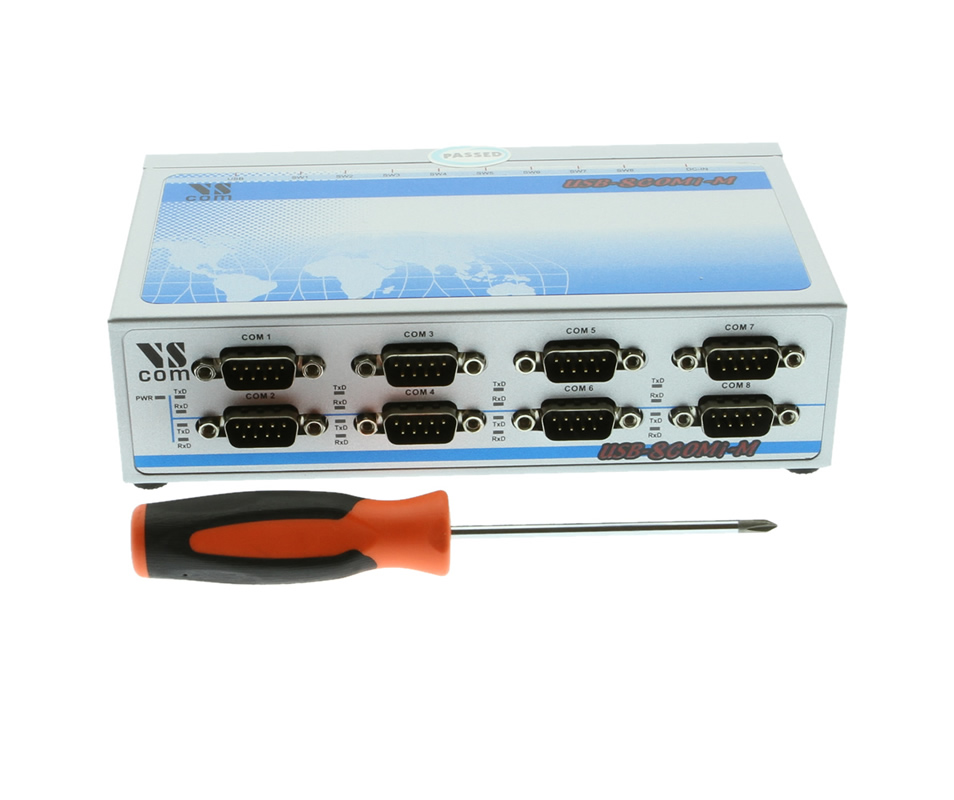
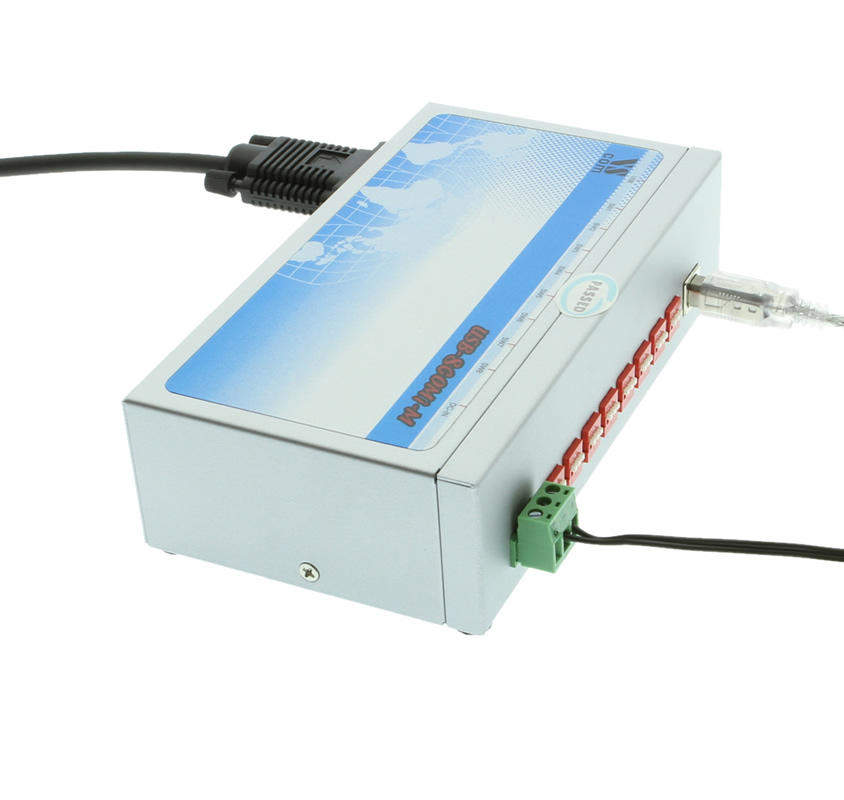
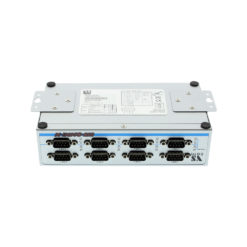
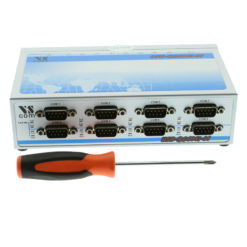
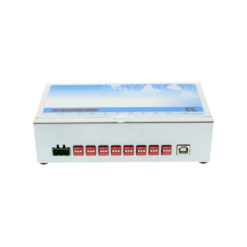
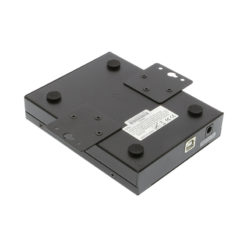
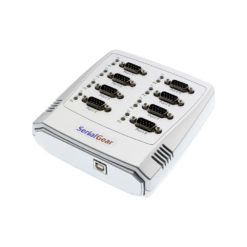
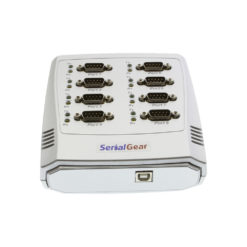
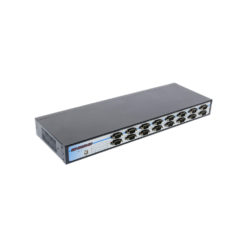
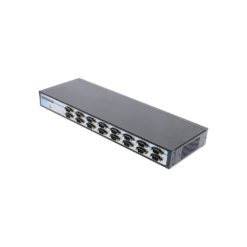
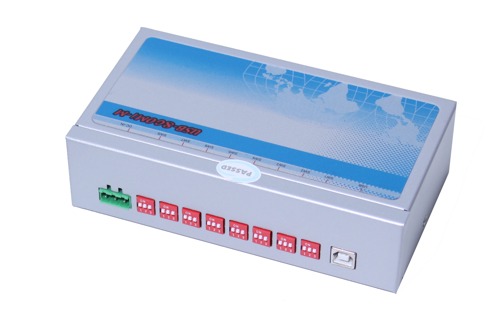
8 Port USB to Serial RS-422 / 485 Metal case DIN-Rail mountable
RS-485 Half Duplex Serial Adapter
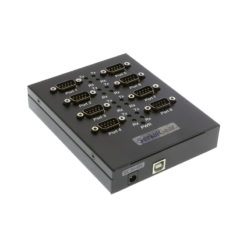
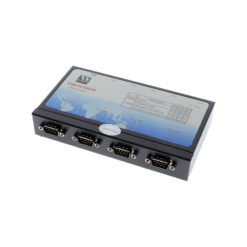
The USB-8COMi-M allows you to add 8 USB to RS-422 or RS-485 serial ports by connecting to a host USB port. Constructed from a rugged industrial-grade metal chassis to include industrial applications.
- Adds 8 Additional RS422 / 485 Serial Ports to your system.
- Automatic transmit and receive control for 2-wire RS-485 half-duplex mode.
- Can reduce system load for speed setting of up to 5000.000bps
- Installs a Windows COM port with port assignment options
Quick Links:
Description
With both USB and Serial technology used together, further use of existing RS-422 and RS-485 devices can be utilized to enable the addition of more serial ports, This is USB to RS-422 serial adaption. This combination offer expansion even when the computer doesn’t offer serial ports. The high speed 128 byte FIFO USB to RS-422 / RS-485 serial port converter is extremely sturdy construction perfect for integrating with your system/application. With its unique features contained within its metal case the USB-8COMi-M can reduce the system load and produce unusual speed settings like 500.000bps.
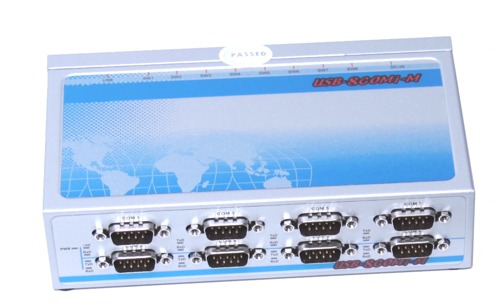
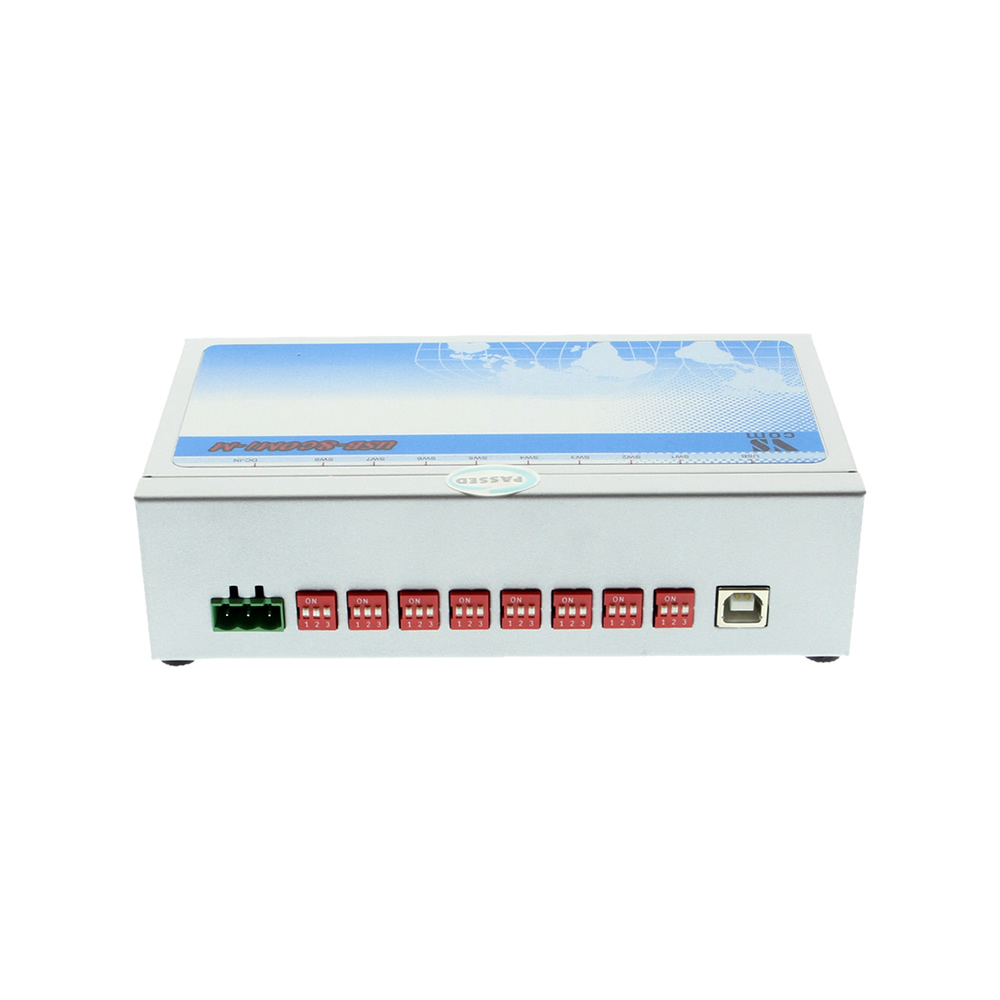
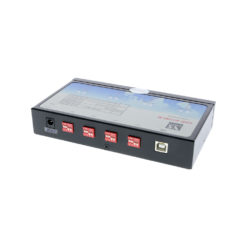
The USB-8COMi-M is a self-powered USB to RS-422 serial adapter device, but it also includes a 5V / 2Amp power supply for applications with high power consumption needs. This device offers Plug-and-Play installation features and RS-422/RS-485 device connection. Serial signal operation modes are selected by the eight DIP switches located externally for easy RS-422, RS-485 communication.
Additional Features:
- Installed as standard Windows COM port
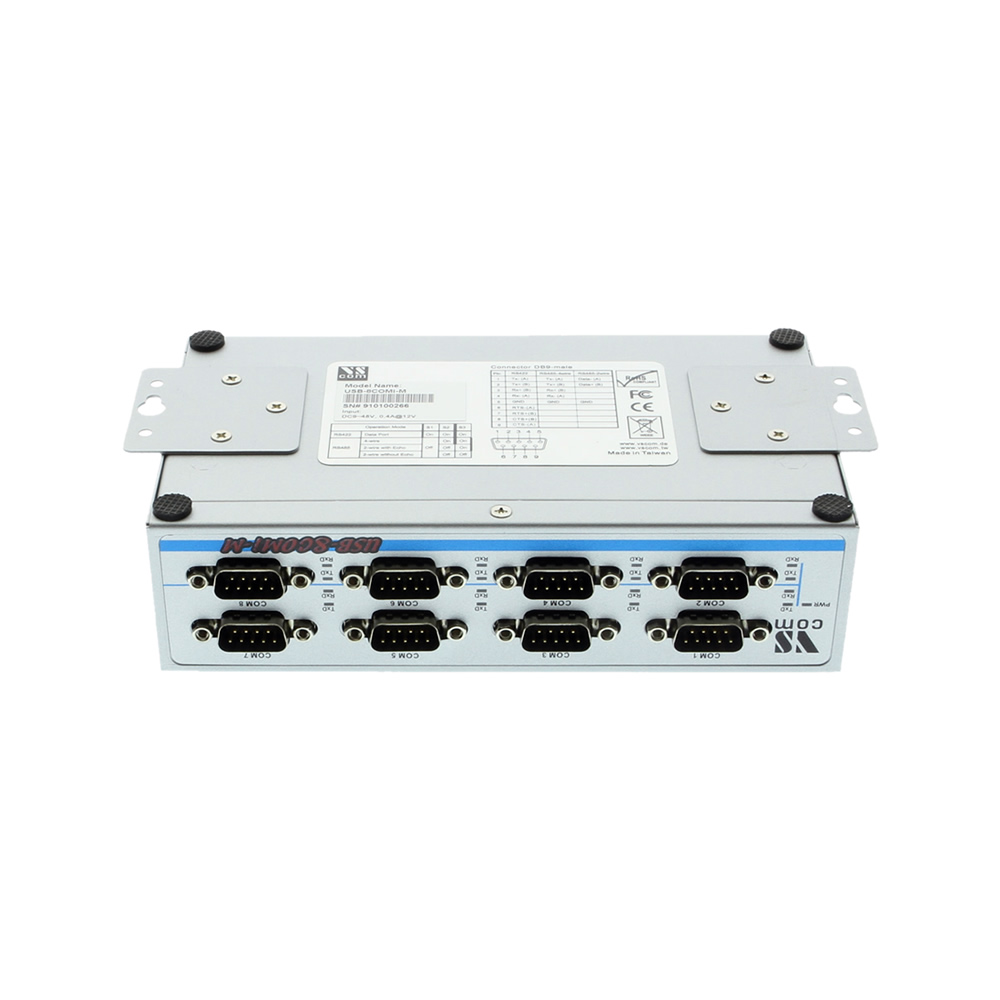
- SECC metal chassis with DIN rail bracket
- RS-422 data signals: TxD-, TxD+, RxD+, RxD-, GND, RTS-, RTS+, CTS+, CTS-
- RS-485 4-wire data signals: TxD-, TxD+, RxD+, RxD-
- RS-485 2-wire data signals: Data-, Data+
- Automatic transmit and receive control for 2-wire RS-485 half-duplex mode
- Built-in termination and biasing
- High speed serial port with the baud rate up to 921.6K bps
- Non-standard baudrates supported
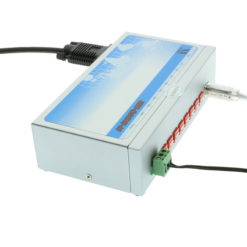
- LEDs of Power, TxD and RxD for easy port monitoring and diagnostics
- Serial port protected with surge protection of 10KV
- Self-powered. One switching terminal power adapter of 5V, 2A provided
- COM port number assigned can be changed to any COM port number required
- Works with USB 1.1 & 2.0 host port
OS Support:
- Windows XP, Vista, Windows 7, Windows 8, and Windows 10
- Linux and Mac OS 10.X
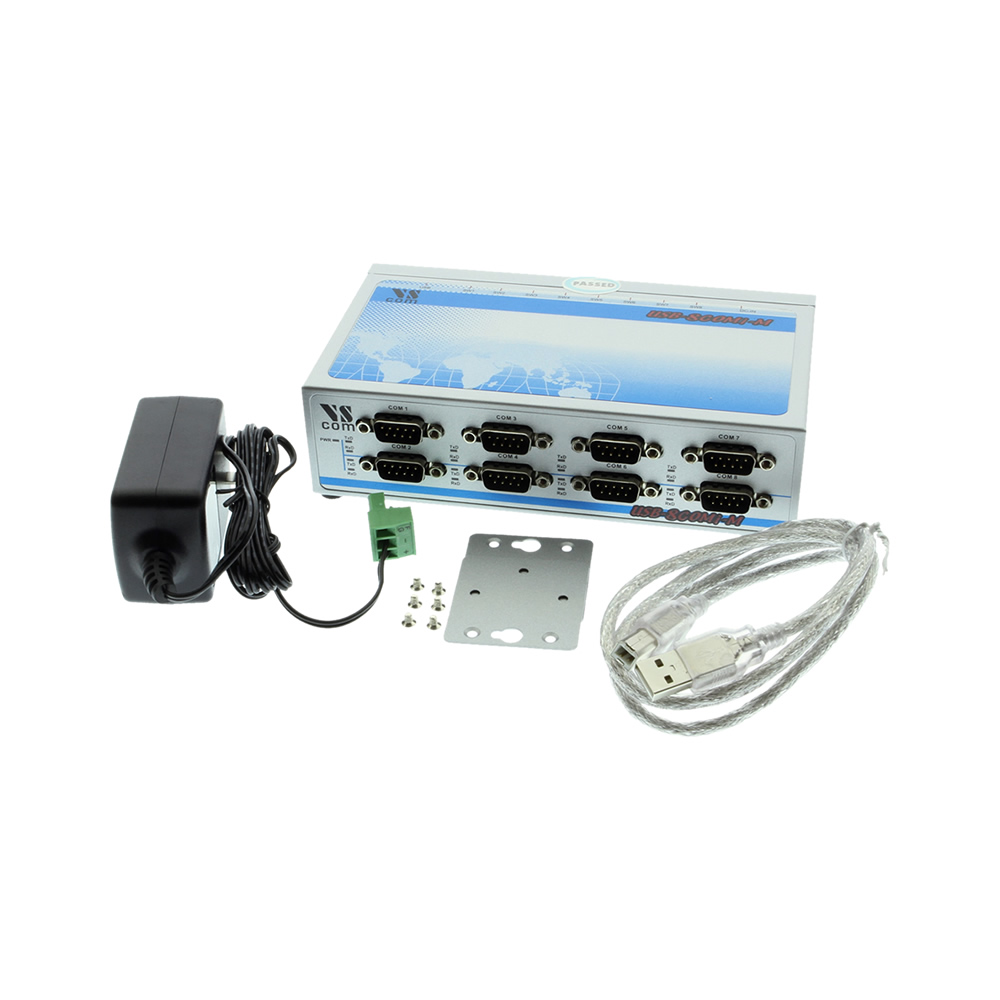
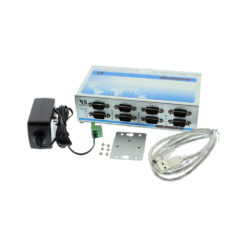
Package Contents
- 8 port db-9 male serial adapter
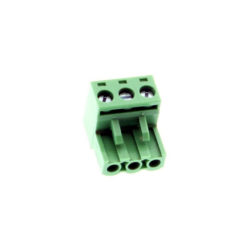
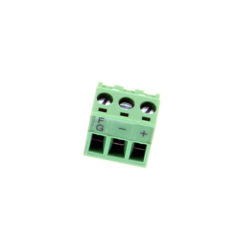
- power adapter w/3 pin Phoenix connector attached
- Din Rail mounting plates with screws
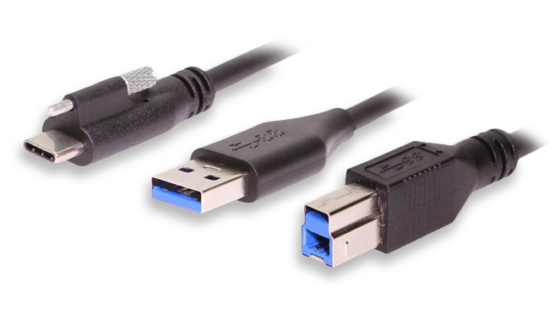
- USB A to B cable
Specifications
Product Specifications
| Power |
| ||||||||||
|---|---|---|---|---|---|---|---|---|---|---|---|
| Compliance |
| ||||||||||
| Physical Characteristics |
| ||||||||||
| Serial Attributes |
| ||||||||||
| Software |
| ||||||||||
| Environmental |
| ||||||||||
| Hardware |
| ||||||||||
| Other Data |
|
Technical
Technical Specifications:
| USB Bus | |
| Compliance | USB 1.0/1.1 compliant, USB 2.0 compatible |
| Speed | 12 Mbps, full-speed USB |
| FIFO | 128 byte transmit FIFO 384 receive FIFO |
| Serial Interface | |
| Port Type | RS-422/RS-485 |
| Number of Ports | 8 |
| Connectors | DB9 male |
| Serial Line Protection | |
| ESD Protection | 10KV |
| Serial Port Speed | |
| Baudrate | 300 bps to 921.6k bps |
| Serial Communication Parameters | |
| Data Bits | 7, 8 |
| Stop Bits | 1, 1.5, 2 |
| Parity | None, Even, Odd, Space, Mark |
| Flow Control | RTS/CTS, XON/XOFF |
| Serial Signals | |
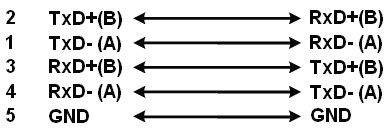
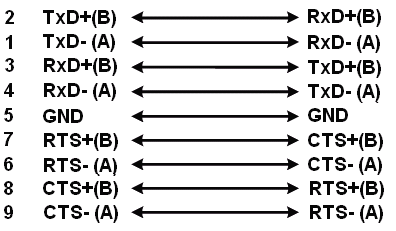
| RS-422 | TxD-(A), TxD+(B), RxD+(B), RxD-(A), GND, RTS-(A), RTS+(B), CTS+(B), CTS-(A) |
| RS-485-4 wire | TxD-(A), TxD+(B), RxD+(B), RxD-(A), GND |
| RS-485-2 wire | Data-(A), Data+(B), GND |
| Driver Support | |
| OS | Windows 7, Vista, 2003, XP (WHQL certified) and 2000 Linux Kernel 2.4 and up built-in support |
| Power Supply | |
| Input | Self-powered Power adapter of 12VDC, 1A, terminal type |
| Mechanical | |
| Chassis | SECC metal chassis with DIN rail bracket |
| Environmental | |
| Operating Temperature | 0 to 55 °C (32 to 131 °F) |
| Operating Humidity | 5 to 95% RH |
| Storage Temperature | -20 to 75 °C (-4 to 167 °F) |
|
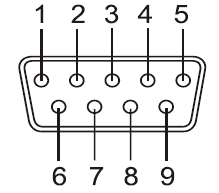
RS-422 & RS-485 DB9 Male Connector Pin-outs |
||||||||||||||||||||||||||||||||||||||||
 |
||||||||||||||||||||||||||||||||||||||||
| RS-422 DB9 Male | ||||||||||||||||||||||||||||||||||||||||
| RS-422 Signal Pin-outs of DB-9 Male | ||||||||||||||||||||||||||||||||||||||||
|
||||||||||||||||||||||||||||||||||||||||
| RS-485 DB9 Male | ||||||||||||||||||||||||||||||||||||||||
|
RS-485 4-Wire (Full duplex) Signal Pin-outs of DB-9 Male Connector |
||||||||||||||||||||||||||||||||||||||||
|
||||||||||||||||||||||||||||||||||||||||
|
RS-485 2-Wire (Half duplex) Signal Pin-outs of DB-9 Male Connector |
||||||||||||||||||||||||||||||||||||||||
|
||||||||||||||||||||||||||||||||||||||||
|
RS-422 Signal Wiring |
||||||||||||||||||||||||||||||||||||||||
|
Point-to-Point 4 Wire Full Duplex |
||||||||||||||||||||||||||||||||||||||||
|
USB-8COMi-M RS-422 Device |
||||||||||||||||||||||||||||||||||||||||
|
RS-422 with Handshaking |
||||||||||||||||||||||||||||||||||||||||
|
USB-8COMi-M RS-422 Device |
||||||||||||||||||||||||||||||||||||||||
| RS-485 Signal Wiring | ||||||||||||||||||||||||||||||||||||||||
|
Point-to-Point 4-Wire Full Duplex |
||||||||||||||||||||||||||||||||||||||||
USB-8COMi-M RS-485 Device 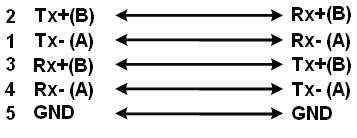 |
||||||||||||||||||||||||||||||||||||||||
|
Multidrop RS-485 2-Wire Half-duplex |
||||||||||||||||||||||||||||||||||||||||
USB-8COMi-M RS-485 Device 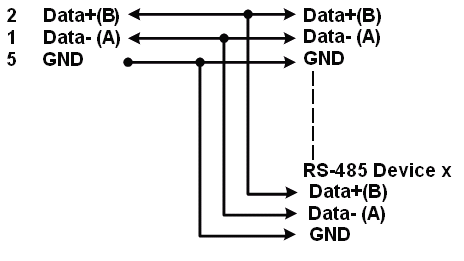 |
Accessories & Replacement Parts
Accessories & Replacement Parts
The 8 Port USB to Serial RS-422 / 485 adapter has certain accessories that work with it. These accessories are what you can order if needed.
Model# CG-3PPW
$3.98In stock
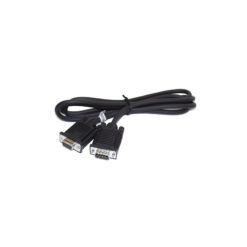
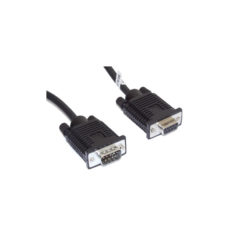
Model# 9DBMF5FT
$3.98In stock
Support
Product Documentation & Drivers
Product Documents
Sofware & Drivers
Need drawings, CAD files, or other compliance documentation? Click HERE
Serial F.A.Q.
Product F.A.Q.
View frequently asked product questions below. For all serial troubleshooting, visit this page.
Still need help? Reach out!
-
How do I clean and reinstall my FTDI drivers?
View Answer
-
- Download the CDM Uninstaller HERE.
- Extract the zip file, or open the “CDMuninstallerGUI.exe” utility.
- Leave the ‘Vendor ID’ set to 0403 and ‘Product ID’ set to 6001.
- Click Add.
- Click Remove Devices.
- Download the corresponding driver for your operating system and follow on-screen prompts. Windows Driver | MacOS Driver
-
-
How can I change my device’s COM port?
View Answer
-
- Click on Start and navigate to the Control Panel
- Locate and click on Device Manager
- Under “Ports (COM & LPT)” you will find your serial device titled “USB Serial Port” along with its current COM Port.
- Right click on “USB Serial Port” and click on Properties.
- Navigate to the “Port Settings” tab and click on “Advanced…”
- Once there, the “COM Port Number:” can be changed with a dropdown menu to select the port number.
- Click your desired port number (i.e. COM2) and click “OK”.
- Click “OK” once more.
- Your serial device is now assigned to your chosen COM Port.
-
-
How do I check to ensure the COM port is listed properly in Windows?
View AnswerTo ensure your serial device is installed properly, complete the following:
- Press Windows Key + R to open the Device Manager. Once Run comes up, type “devmgmt.msc” into the text field and press Enter.
- Expand the section labeled, Ports (COM & LPT).
- You should now see a COM number in brackets to the right of each port. If the device is installed properly, no exclamation points or question marks should be present next to the device.
-
I have everything hooked up, but nothing is functioning correctly.
View AnswerTo rule out potential issues, quickly test your individual components to ensure that they are working correctly individually, and are not the source of the problem:
- Serial cables
- Serial ports
- Serial devices
Test your components by:
- Hook up the serial cable(s), serial port(s), and serial device(s) in a different setup to see if the issue stems from a particular component, or the setup as a whole.
- Replace the serial cable, port, or device within your setup to further troubleshoot the issue’s origin.
When testing cables:
- Test each cable individually.
- Use short cables when you are testing.
When testing serial ports and devices:
- Press the Windows key + R, in Run, type devmgmt.msc, and press Enter to open the Device Manager. You can then check to see if your device is listed under Ports (COM & LPT).
- Ensure that the COM port number is the correct number for the serial device and that the software being used to connect the computer to the serial device uses the correct COM port number.
- If the device is listed with an error, follow the instructions on the website to reinstall the drivers.
-
Serial communication is not functioning correctly, how can I tell if the problem caused by the adapter or my serial software application?
View AnswerOlder serial communication applications make use of legacy hardware addresses, often incompatible with PCI, PCIe, and USB to Serial products. Contact the software provider to troubleshoot.
-
I am receiving an error when I try to install the drivers in Windows 8 64 bit.
View AnswerDriver Signature Enforcement in Windows 8 may need to be disabled in order to use various drivers. After disabling this feature, the driver will be allowed to install.
Note: You are required to restart your computer after disabling the Driver Signature Enforcement. Save all open work on your computer.
Disable driver signature enforcement:
- Press the Windows key + C.
- Click Settings > Change PC Settings.
- In the left pane, click General.
- In the right pane, under Advanced startup, click Restart now.
When your system restarts:
- Click Troubleshoot > Advanced options > Startup Settings > Restart.
- Press 7.
When your computer restarts, Driver Signature Enforcement will be disabled and you can install the drivers.
-
I am receiving an error when I try to install the drivers in Windows 10 64 bit.
View AnswerDriver Signature Enforcement in Windows 10 may need to be disabled in order to use various drivers. After disabling this feature, the driver will be allowed to install.
Note: You are required to restart your computer after disabling the Driver Signature Enforcement. Save all open work on your computer.
Disable Driver Signature Enforcement:
- Click the Windows icon in the taskbar.
- Click Power.
- Press and hold the Shift key and click Restart.
After your computer restarts:
- Click Troubleshoot > Advanced Options > Startup Settings > Restart.
- Press 7.
When your computer restarts, Driver Signature Enforcement will be disabled and you can install the drivers.
-
Why did the software not install properly in macOS High Sierra (10.13) or later?
View AnswerHigh Sierra 10.13 and later versions of macOS enforce strict security policy revisions. In order for the device to operate, software packages like those used in this installation must be allowed in macOS Security and Privacy settings once the software is installed.
Once the driver/software is installed, follow these steps to allow the software:
- Open System Preferences.
- Open Security & Privacy.
- Click the Allow button near the bottom of the General tab.

